This guide will cover the basic steps to get OBS (Open Broadcaster Software) setup and linked to Twitch so you can stream from your computer.
First thing is to head over to the OBS website and download the program and install it on your computer.

Once installed launch OBS and a window will popup asking if you want to run the “auto-configuration wizard“. Click on “Yes“.

On the next screen choose “Optimize for streaming, recording is secondary” and click next.

In the next screen you can specify the window settings you require from the drop down menu.
Choose “Use Current” here.
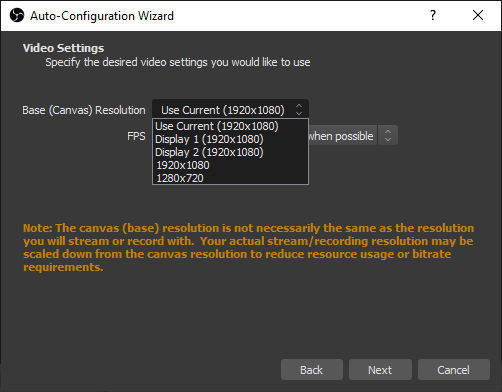
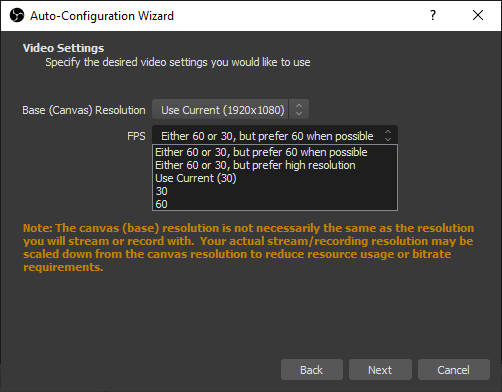
Next select the FPS you require and click “Next“.
The next screen is where you enter your stream information. As we are using Twitch make sure that is selected in the “Service” box. Now you will need to enter your stream key. Use the link in OBS to open up a browser and it will automatically take you to the correct page.
Paste in your key and click on “Next” to continue.

OBS will now perform some tests to get the best settings based on your bandwidth.

Once the test has finished the results will be displayed. Click “Apply Settings” to save. They can be adjusted later manually if needed.
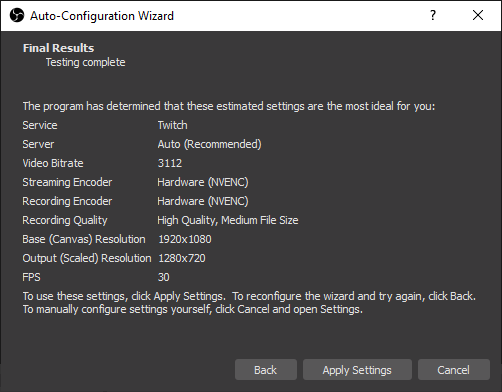
Now the connection to Twitch is complete its time to setup some sources to stream from.
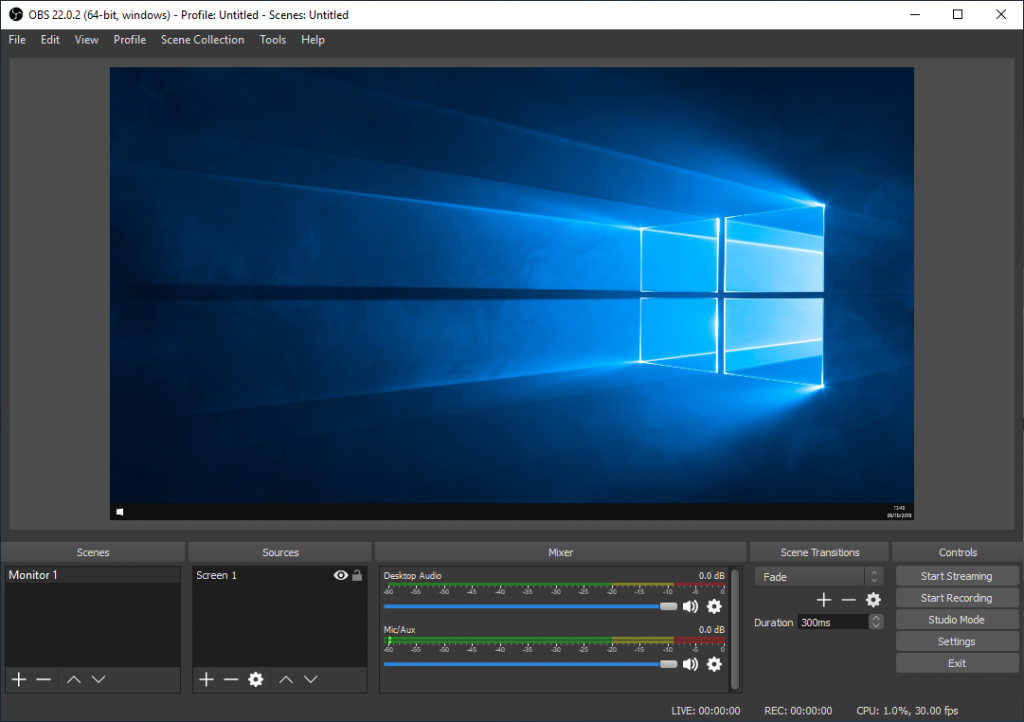
In the bottom left corner of OBS you will see two boxes. One says “Scenes” and the other “Sources“.

First we will add a new scene. Click on the + button in the scenes section. A window will popup and ask for a name. Enter whatever you like in here. For this example I will use “Monitor 1” as I want to capture anything showing on my first monitor.
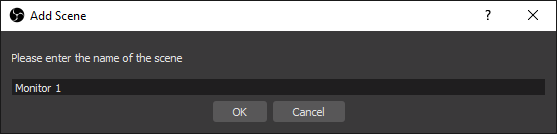
After giving the scene a name click on “OK” to save it.
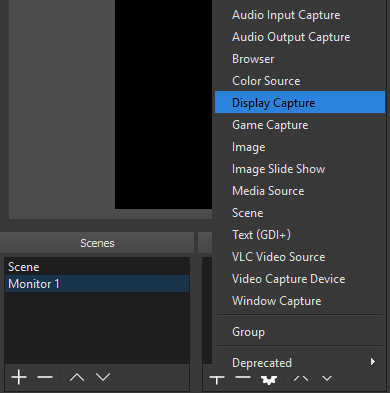
Next we select what we want to be shown in the scene. There are various options to choose from here but for this guide will be be using “Display Capture“. This will display the entire contents of the screen we have selected.
Click on the + button in the sources section and select “Display Capture“. Give it a name and then click on “OK“.
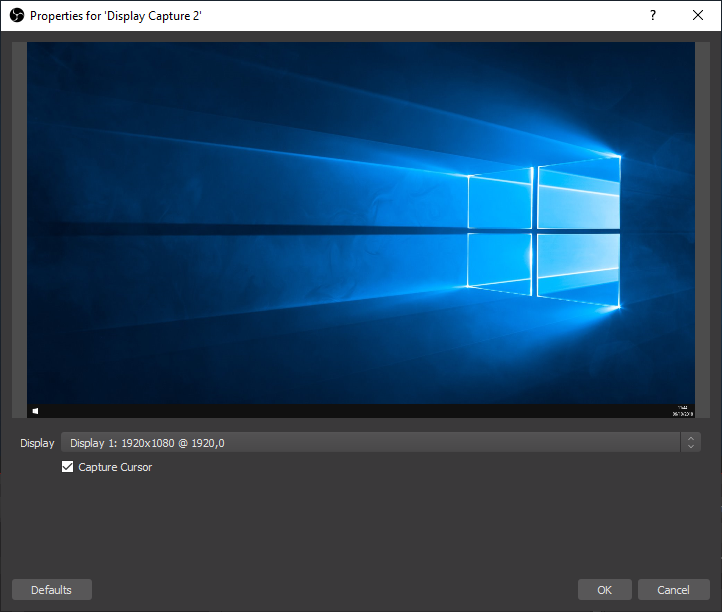
Next OBS will show a preview of the display. You can choose if you want the cursor to be shown here by clicking on the “Capture Cursor” check box.
Click on “OK” and now you will see your selected display in the main OBS window as shown below.
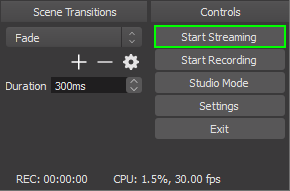
That is all the basics setup and you are ready to stream! Simply click the “Start Streaming” button which is down near the bottom left of the main OBS window.
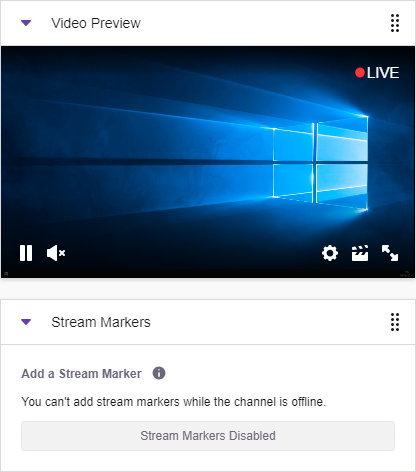
To check the stream simply load it up in a browser or check from the Twitch dashboard.
When it comes to adding different sources you might want to experiment with the various options. This guide will show the entire screen and its contents. So for example if you are playing a game and tab to a browser or different application on the same screen this will be shown.
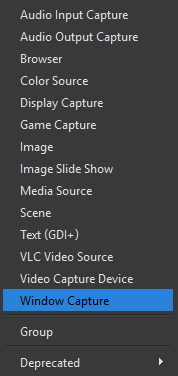
If you just wanted to show a certain window or program when you select the source Window Capture might be better suited. When selecting a source click on “Window Capture” from the list as shown below.
In the next menu click on the “Window” drop down menu and pick the program you want to show.
In the screenshot below it is set to “firefox.exe”. This means it will only show the contents of this window regardless of what else is on the screen.

Click on “OK” and you should now see the window you selected in the OBS main preview window. This method is much better if you are multitasking between apps but only want to show one program during the stream.